


 Technology Technology


Vintage Technology Repair Log

Toshiba VCR (w-103)
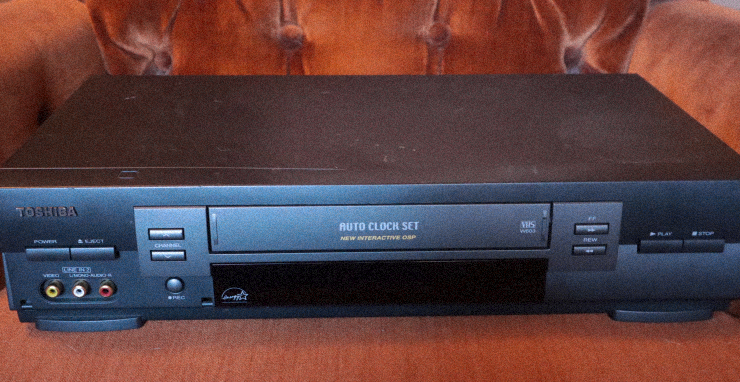
Problem: When inserting a tape into the VCR, it inserts a little bit but does not set in nor accept. It ejects the tape automatically.
Solution: I disassembled (which took way longer than the actual repair). I first checked the belts, which is a rubber band that tugs moving components into motion. If the rubber band is loose from age, it will not be able to move necessary components and thus, your VCR won't work. The band in my VCR was thick and still in really good condition, so this was not the problem. I then checked the mode switch, which is located on the board, not the chassy. It's a circular plastic piece which you must remove from the board (I remove by propping tweezers under the mode switch to pop it out). Once it is removed from the board, clean it the contact parts of the mode switch with alcohol and a paper towel or cotton swab. If using a swab, be sure no small fuzz pieces are left behind, as this can hinder the functionality. To clarify, you will clean the metal contacts of the mode switch which are located on the board where you removed the top of the mode switch, and you will also clean the mode switch component you removed. It will have 3 prongs, these prongs are cleaned with alcohol. After cleaning, pop the mode switch back onto the board. Make sure you align the mode switch correctly, this model has an arrow on the plastic component and on the board, which indicate that those arrows need to point at each other to be properly aligned.
After I did this, I reassembled the chassy onto the board. I cleaned the video drum with alcohol and a paper towel because I figured it'd need it. I put the casing back on and the VCR then worked perfectly normal, able to accept and play tapes.
Clarification: What is the mode switch?
The mode switch is a component which communicates to the VCR what state the player is in. Stop, play, fast forward, etc. When this component is dirty, it's not able to properly make connections to communicate what state the VCR in and thus, can act irratically or not at all. Cleaning it is easy and most of the time is the first thing that should be tried (along with replacing loose belts) when troubleshooting a VCR, as this is one of the most common issues.
Tips:
(1) If you have this model, here is the manual.
(2) I didn't realize there were two screws on the bottom of the VCR that are necesary to unscrew to release the chassy. After unscrewing these screws, the chassy came up easily.
(3) When reassembling, screw on the 3 screws that go onto the chassy, then screw on the external bottom screws. If done the other way around, the chassy is not secured and will wobble. I tried to reassemble by screwing the external bottom screws in before the chassy, because those are what I unscrewed last. Without thinking, I naturally thought "I unscrewed those last, meaning I'll screw them back in first." I quickly realized my mistake and to screw in the three internal chassy screws first.
When repairing VCRs, cleaning the mode switch is one of the things you should try first. A lot of the time this will fix the issue.
Click here to go back to the log of repaired vintage technology.
|

 NEWS
NEWS
 Poems i made
 WHO AM I???